Bosses
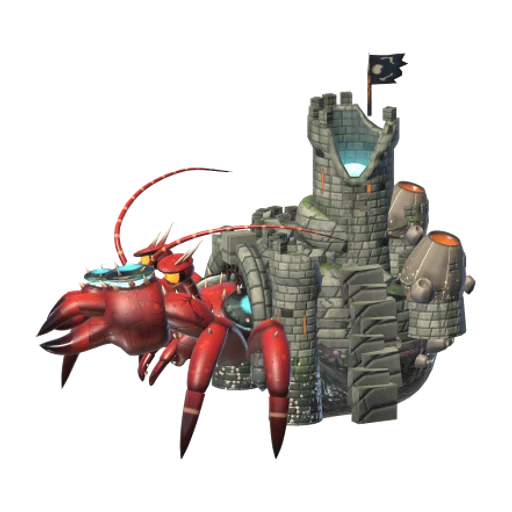
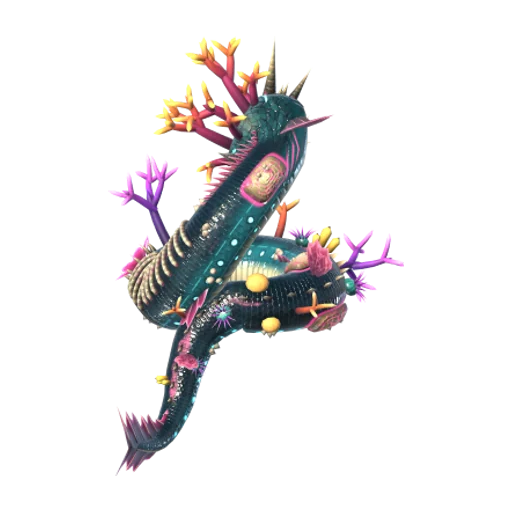
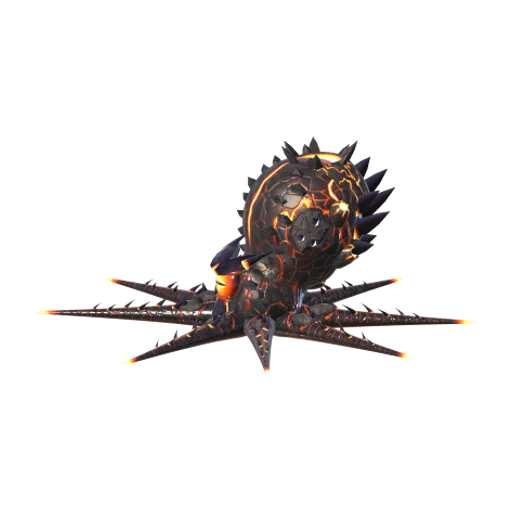
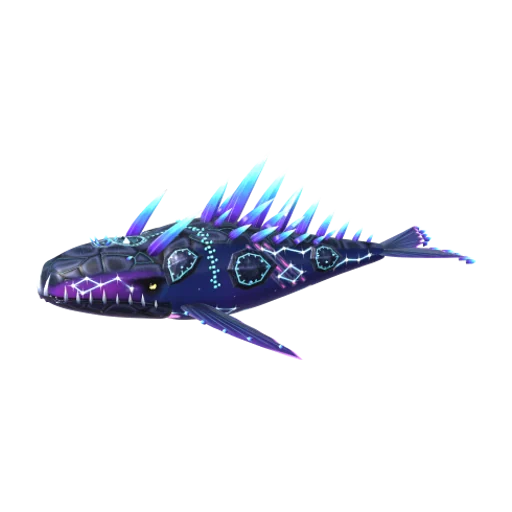
Each region has a boss: a huge sea creature that the whole lobby fights together. Bosses are never killed. You wear them out until they topple into the sea, tamed, and everyone who helped gets loot.
When and where they appear
Section titled “When and where they appear”The harbor boss comes up on a regular schedule, and the four bosses take turns. A notice warns you a few minutes ahead, then the harbor horn sounds and a prompt appears. The arena is a ring of glowing buoys a short sail south of the harbor: press SET COURSE to steer there, then JOIN once you arrive. Any boat will do, even the Patchwork Dinghy, and you can also join while riding with someone or swimming. You can join late, right up until the finish. There is no teleporting: everyone sails there.
You can also summon a boss to its lair. Boss fights sometimes drop Sigil Fragments; at the Summoning Stone on the harbor plaza, turn a region’s fragments into a Boss Sigil, then stand in the circle and press SUMMON. Everyone in the lobby is told where the lair is, and the crew has a few minutes to sail there and JOIN before the boss rises. The lairs lie out on open water around the harbor. A lair boss is much tougher than the harbor boss and gives better loot. To join, you need a boat that can enter the boss’s region, or a ride with a captain whose boat can.
A small ember light hangs in the sky over every boss that is coming or being fought, so you can steer toward it from anywhere nearby. While a fight is on, the sky darkens and the wind rises.
How a fight goes
Section titled “How a fight goes”A boss fights in a steady rhythm. It attacks for a while, then shows its weak points: its armour plates swing open and the weak points blaze. Every few rounds it surfaces beside the crew and holds still for a while so you can climb it, then dives again, and anyone still on it slides off into the sea. One big health bar floats high over the arena, readable from any boat, with a marker for the finish line and a pip for each armour plate.
Hurting the boss
Section titled “Hurting the boss”- Your rod: cast at a glowing weak point to hook it, then reel. Reeling deals steady damage, more while you keep your reeling inside the zone on your rod’s gauge and more again while that weak point is exposed. Reeling on a hooked weak point also wears down its armour plate; once a plate tears off, that weak point stays open for the rest of the fight. A stronger rod setup hits harder.
- Kelp bombs: every boat carries a basket of bombs at the back of its deck that refills over time, and floating crates around the arena hold bombs for swimmers. Grab one and throw it by hand; a throw aimed near an open weak point curves onto it. A hit on an exposed weak point does big damage and staggers the boss, which pauses its attacks and can interrupt a move it was winding up. A bomb that hits a closed plate only clangs off.
- The climb bomb: while the boss holds still at the surface, climb up its body, carrying a bomb, to the glowing spot on top marked DROP A BOMB HERE. Let go of the bomb there for the biggest hit of the fight and the longest stagger. Each captain gets one climb bomb each time the boss surfaces.
How the boss fights back
Section titled “How the boss fights back”Every attack is shown first as a glowing line, arc or ring on the water, so a captain at the reins can steer out of it. Knockback is the bosses’ main weapon: waves, slams and sweeps shove captains around, off their decks and into the water, and every boss rams boats, launching them and their crews into the air. Each boss also has moves of its own, described on its page.
Each boss sends waves of small enemies that swim up, climb the hull and drop onto the deck to knock captains about. Only your rod gets rid of them: a hard swing with the outer part of the rod knocks one flying into the sea, while a light hit only makes it flinch, though two light hits in quick succession knock it off too. Touching one with your hand just gives it a pat.
Health and knockouts
Section titled “Health and knockouts”Your health shows only at the edges of your view: a red glow that deepens as you get hurt, a heartbeat in your controllers when you are low and muffled sound when you are very low. It refills on its own once you go a little while without being hit. If it runs out you are knocked out: the view fades and you wash up at the harbor. You stay in the fight, so you can sail back, and your loot still counts if you took enough part.
Your boat has health too. As it takes hits its colours drain away, and a boat with none left stops refilling its bomb basket. Everything is restored when the fight ends.
The finish and the loot
Section titled “The finish and the loot”When the boss’s health reaches the finish line, only reeling can bring it down, and every captain reeling at the same time makes everyone’s reeling count for more. The harbor horn blasts, the boss slows down for a moment and every rod comes up together. Tamed, it topples into the sea with a huge splash and glowing loot bubbles up all over the arena; your own loot bobs up beside you and floats within reach, ready to scoop up by hand.
Everyone who took enough part in the fight gets the loot: there is no draw. It includes coins, gems, a treasure chest with its key, and sometimes a Sigil Fragment, a boss egg or a Vault Key. Lairs also give a few Crowns and richer chests, and the Bastion Crab’s and Starwhale’s lairs can drop a rod. Legendary chests and better come only from bosses. If time runs out first, the boss escapes, and everyone who helped gets a smaller reward of coins and gems. Leaving a fight early gives up your rewards.